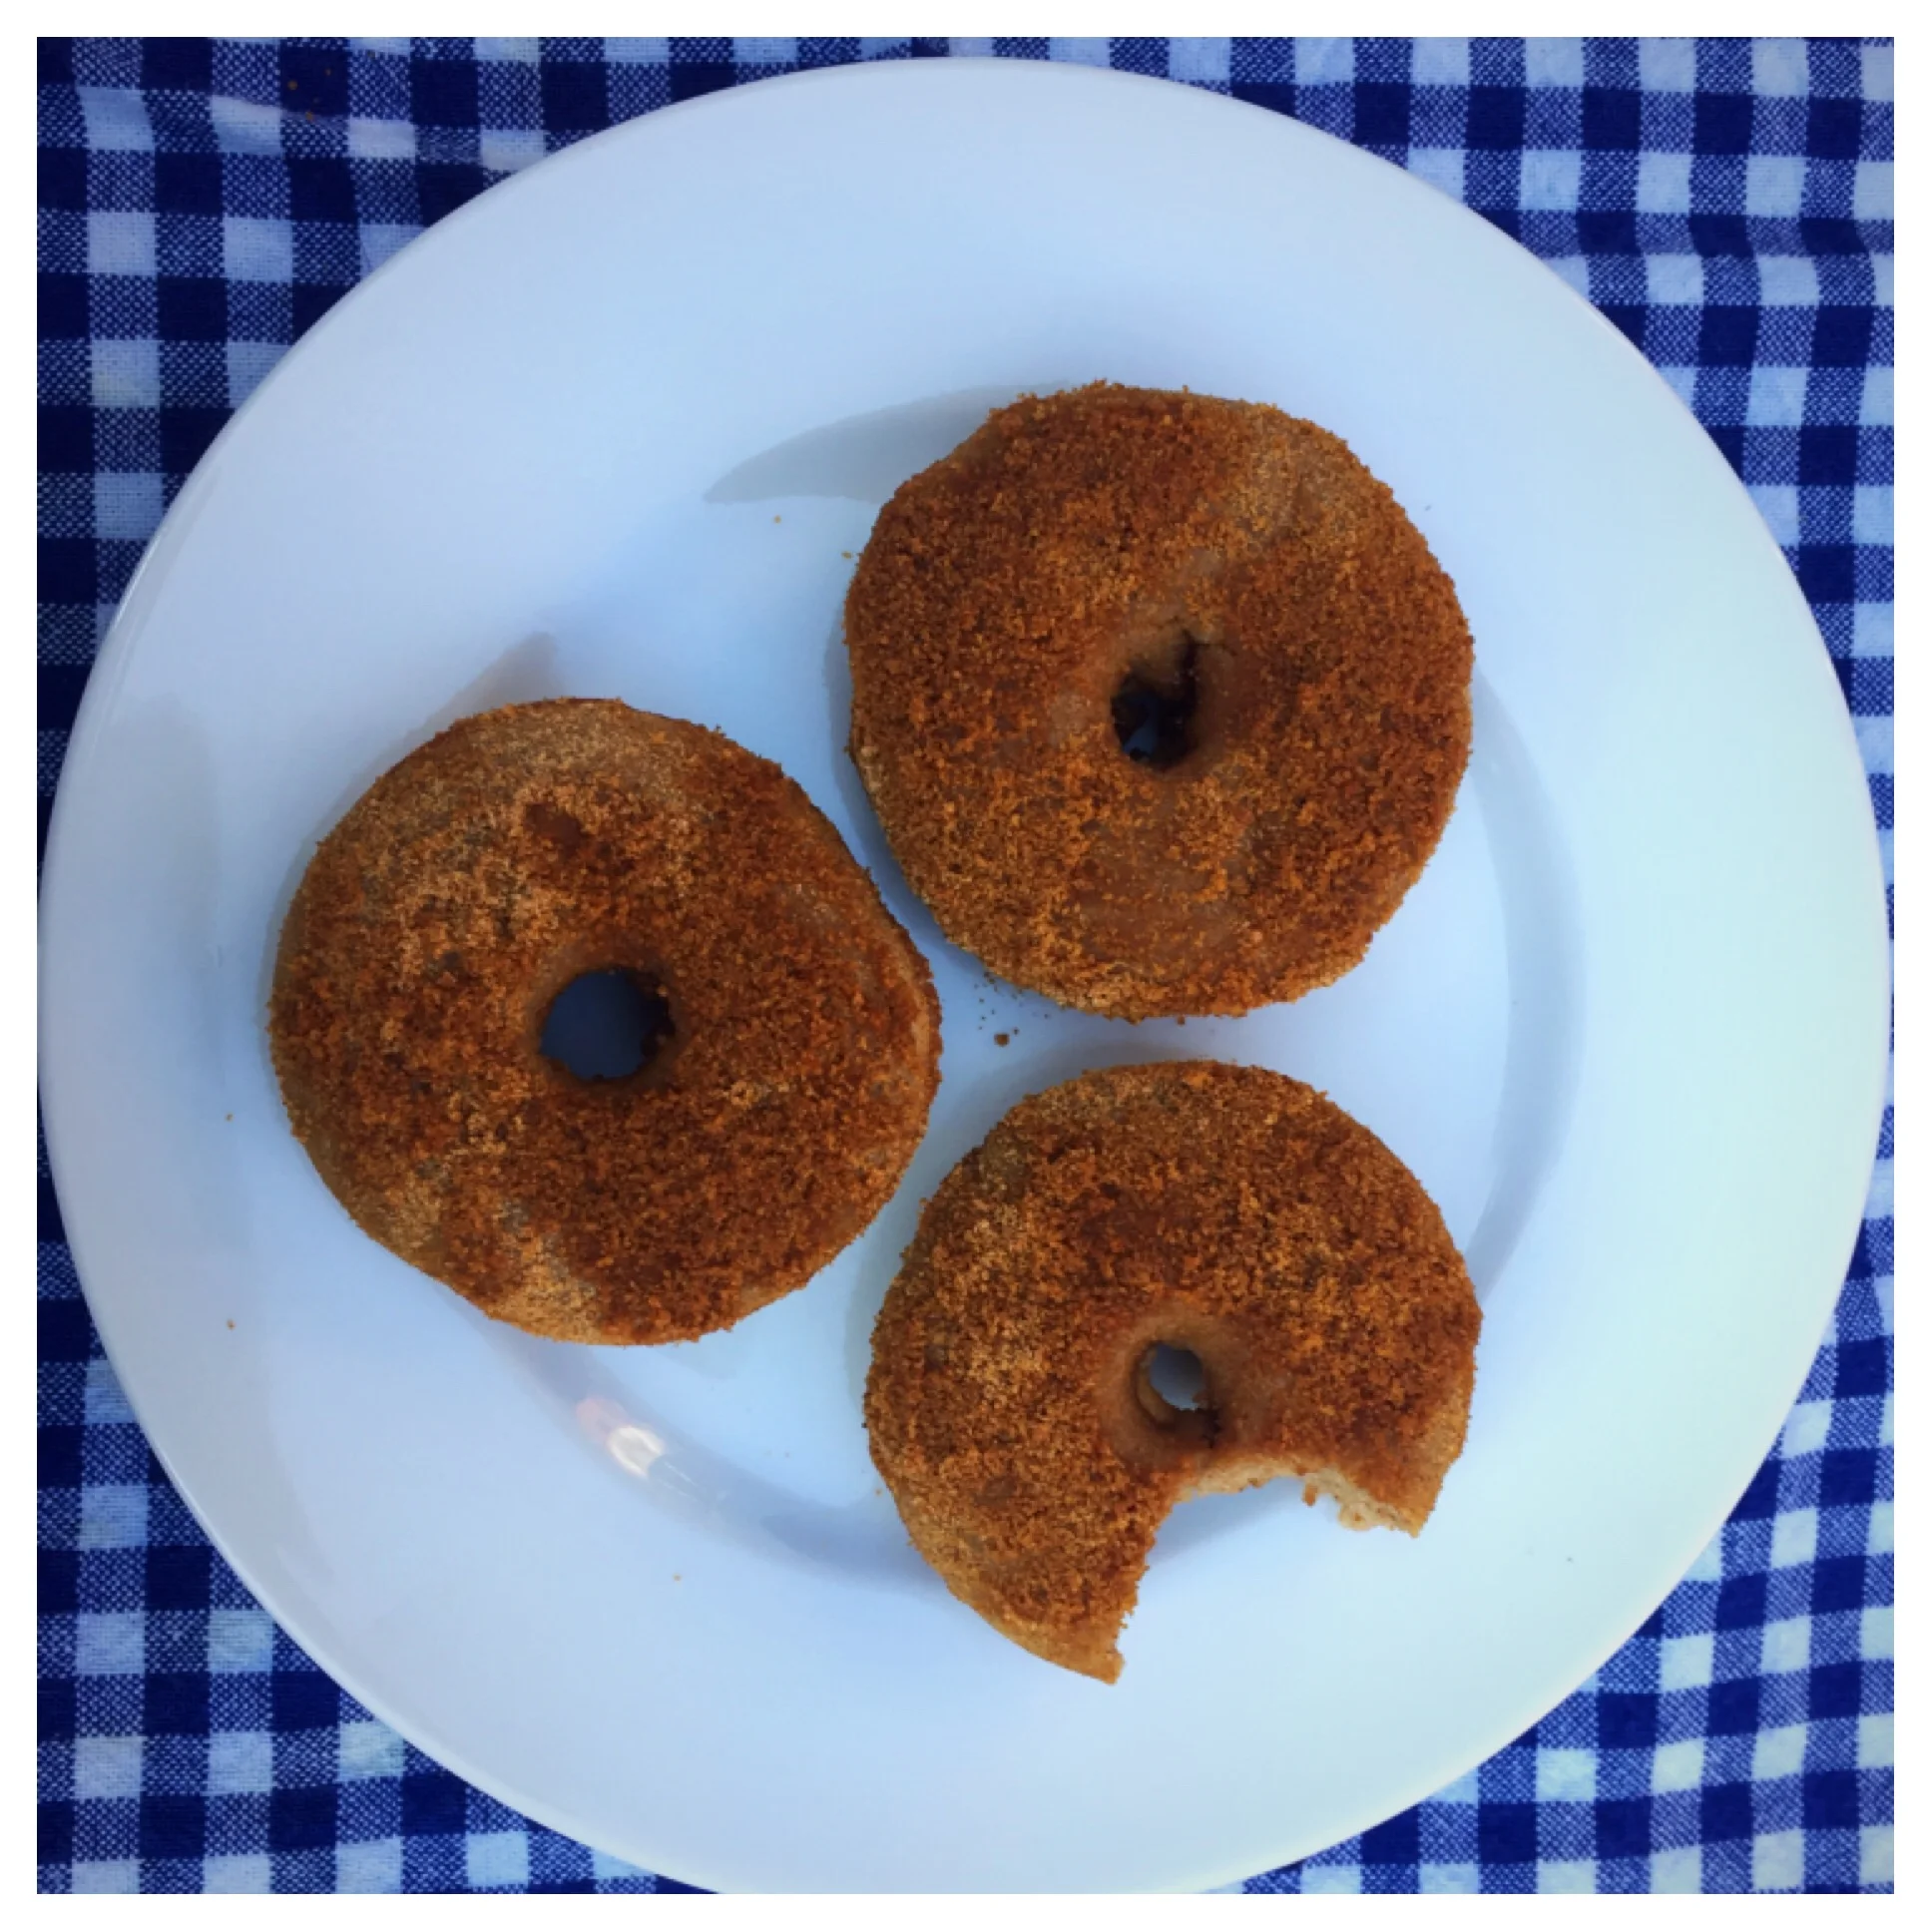
Grain-free Ginger Spice Cookies

The holiday season is upon us and in our home we are counting the days until Christmas! Although our holidays look different this year due to the quarantine, we are using this special time to seek joy in new hobbies as well as old traditions. One of the ways we find joy during the Christmas season is creating fun treats through holiday baking and fragrant spices!

One of my favorite varieties from childhood are my mom’s snickerdoodle or ginger/cinnamon spice cookies, simply for the wonderful aroma that permeates my home when I bake with these spices. When I started eating a gluten free, grain free diet, I missed my old standby favorites. Although we have made many good varieties using the typical almond flour or coconut flour, I love to vary up the flours we use to incorporate different nutrients and tastes into our diet. This recipe utilizes tiger nut flour, which is actually a small tuber, and not a tree nut at all so perfect for your nut-free friends as well.

Tiger nut flour is high in beneficial prebiotic fiber that feeds good bacteria in the gut through the resistant starches found in tubers, root vegetables, legumes, plantains, and other plant foods. The bacteria then release, through their own digestion, short chain fatty acids to nourish the gut lining, B vitamins, tryptophan, and digestive enzymes to break down food more easily. Beneficial gut microbes regulate immune cell function to help soothe and calm your immune system. So, as you enjoy these treats, remember you are not only nourishing your body with better foods, but also your microbial colonies that live in your gut. Remember to nourish your microbes today and each day! Enjoy these cookies warm or cold.

Ingredients:

8 pitted medjool dates (about ½ c)
¼ c virgin coconut oil
1 legg
1 tsp vanilla
1 c tigernut flour (packed)
1 ½ tsp cinnamon
3/4 tsp ground ginger
½ tsp baking soda
¼ tsp sea salt

Directions:

Preheat oven to 350 degrees F. Line a cookie sheet with parchment paper. Place the dates, oil, egg, and vanilla into a food processor and pulse until the mixture is very smooth and pureed. Then add the remaining ingredients and process again to combine.

Drop cookie dough by the heaping tbsp onto cookie sheet. You should have 12 to 14 cookies. Using wet hands, gently flatten each cookie. Bake for about 10 min. Let cool for 5 to 10 minutes on the cookie sheet before placing onto a rack to fully cool (unless you want to grab them warm off the sheet and eat like I do). Enjoy!

tigernut cookies.png

Gluten Free Pear Crumble- Is it Breakfast or Dessert? How about both!

I don’t know about you, but nothing speaks wintertime and the holidays like the flavor of warm, spiced pears baking in the oven. After purchasing a large bag of mixed pears at my local Trader Joe’s this week, I decided to create a treat for my family by tweaking a few recipes I found online. I had enjoyed berry, peach or apple crumbles in the past, but never thought about using just pears! The end result is one of the most delightful treats I’ve experienced in a long time and one that is sure to become a favorite in your home too! I have kept this recipe gluten free by using almond flour, however, you may feel free to substitute regular flour as well if you choose to. Enjoy!

Filling ingredients:

2 lb. ripe but firm pears, any variety with skins intact (I used about 6 small pears to fill my casserole dish)

1/4 c coconut sugar

1/2 lemon, juiced

1 T pure vanilla extract

Crumble topping ingredients:

1 c almond flour or other flour of choice

1/4 c gluten free raw oats

1/2 to 3/4 c coconut sugar (use less if planning to serve with ice cream)

1 c walnuts, or pecans or combination, chopped

1/2 t ground cardamom

1 stick unsalted butter, melted

Directions:

Preheat oven to 350 degrees. Wash and dry pears and chop into bite size pieces, removing the core and stem as you chop. Place in a large bowl and toss with lemon juice, vanilla and sugar. Meanwhile, add all dry crumble topping ingredients to a medium sized bowl and stir to combine. Add melted butter and mix well, using hands to incorporate fully.

Spoon fruit mixture in the bottom of an oval 8x10 baking dish and spread out evenly. Spoon crumble mixture on top of fruit evenly to cover. Bake in over approximately 40 minutes. If crumble browns too fast, cover with foil halfway through baking time. Serve warm in bowls topped with whipped cream or ice cream if desired.

pear crumble.png

Red, White and Blue Cheesecake Bars- (raw and vegan)

The dog days of summer are here for sure and in the U.S., we are getting ready to celebrate our Independence Day on July 4th! This holiday always holds much nostalgia for me, from the grand fireworks display with family and friends, to the bbq'd meats and veggies, and, of course, the patriotic-filled red, white and blue desserts! I've always been a fan of cheesecake, but after going primarily dairy-free, I thought my love of this creamy dessert had to end. I was totally wrong! My version of a patriotic raspberry vanilla cheesecake is inspired by a dessert I had at a vegan restaurant in Montreal called Crudessence (you must try if you are in Quebec!). There, I enjoyed a chocolately-mousse type cheesecake that was dairy free featuring cashews as the cream filling of choice. After successfully using cashew cream as a base for my enchiladas and other savory dishes, this creation is my first to use them in a dessert recipe. Of course, since this is a July 4th themed dessert (or any time!), I chose to make a vanilla cheesecake filling, topped with a red raspberry layer, and garnished with fresh blueberries. Feel free to substitute any berry flavor for the top layer and have fun experimenting!

Ingredients:

1 c gluten-free chocolate granola (I used Kind brand)

1 c pitted medjool dates

1 T cacao powder

4-6 T unsweetened vanilla almond milk

1.5 c raw cashews

1/3 c pure maple syrup, (plus 1/4 c maple divided for top layer)

2 t pure vanilla

10 oz organic frozen raspberries, defrosted

1/4 c chia seeds

Directions:

Place the cashews in a glass jar or baking dish and cover with boiling water. Soak for 1 hour. Drain the water and set aside. Place granola in a food processor with dates, cacao powder and 2 T almond milk. Pulse to combine until mixture forms a thick paste. Line a loaf pan with parchment paper and press cashew mixture into bottom of pan to form the crust layer. Place pan in freezer for one hour.

In food processor, combine drained cashews with 1/3 c maple syrup, vanilla and 3 T almond milk (more if needed). Pulse until mixture is smooth and creamy. Spread this "cheesecake" layer over crust and freeze an additional hour.

To make topping, place defrosted raspberries, chia seeds and 1/4 c maple syrup in food processor. Pulse to combine. Spread on top of cheesecake to form the final layer. Freeze for at least one more hour or until set. 

To serve, cut, cheesecake into squares and top with blueberries or additional raspberries if desired. Enjoy!

Raspberry and Vanilla Raw Cheesecake Bars!

Raspberry and Vanilla Raw Cheesecake Bars!